Upgrade Photos:
Stillen SR20DE Header
![]()
Upgrade Photos:
Stillen SR20DE Header
| Introduction |
When I purchased my shiny Stillen 2nd-generation header in mid 1998, I planned for a moderately difficult installation requiring about four hours, followed by loads of high-revving excitement. What actually happened was more traumatic, expensive, and time consuming than anticipated. Despite a serious turn of bad luck, the header was successfully installed with satisfying results. A good installation procedure already exists on SE-R.net, so I have not published my own.
In the months following the header installation experience, my priorities and attitude changed as I determined a faster and more mature machine with an extra pair of doors would better fit my lifestyle. In September 1998, my SE-R passed into the hands of another owner, and I acquired a 1996 Acura Integra GS-R sedan. What could have been the beginning of an expensive long-term upgrade project simply ended as another chapter in my automotive adventures.
| The Stillen Header |
What did I get for a few hundred bucks?
| The Kit | ||
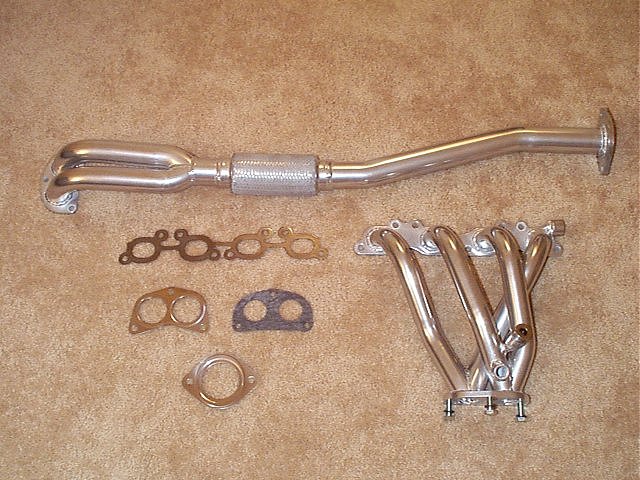 |
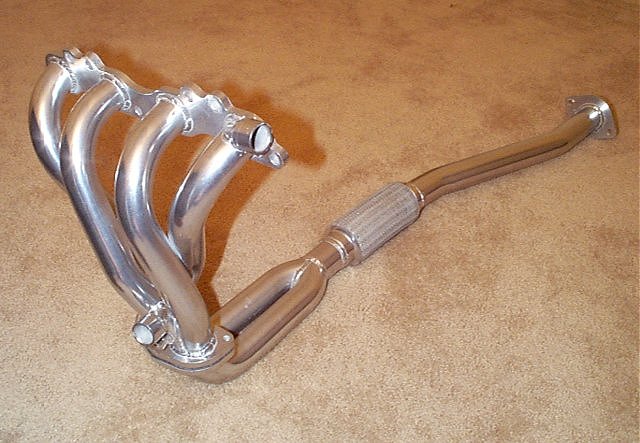 |
 |
| All parts | Front view | Rear view |
The Stillen second-generation ceramic coated header has a number of improvements, including longer primaries and a double-walled flexpipe. The dark composite gasket for the secondaries is supplied by Stillen, and the others were bought from Nissan.
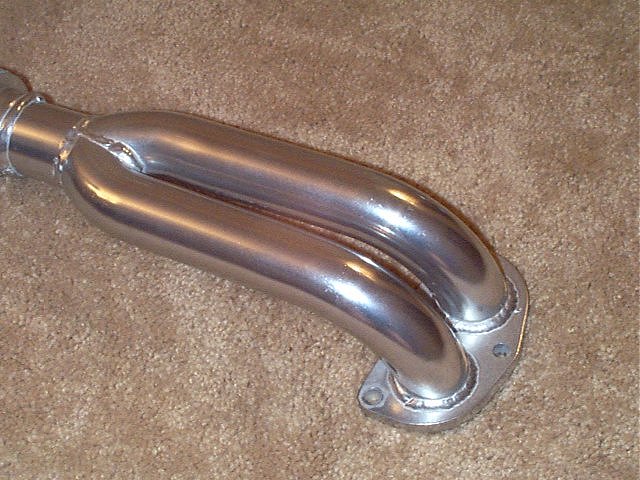
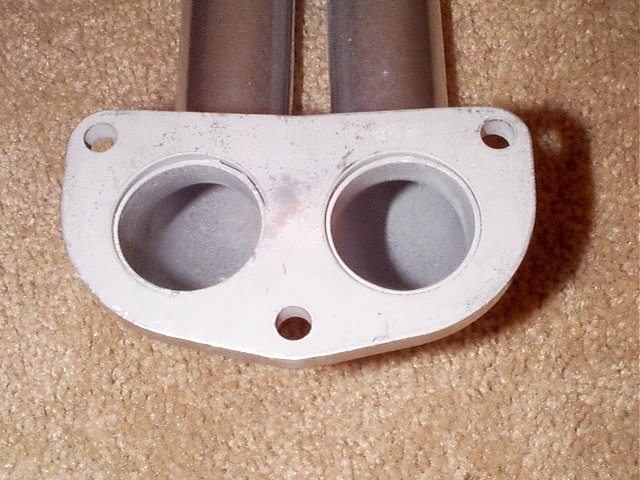
| The Primaries | |||
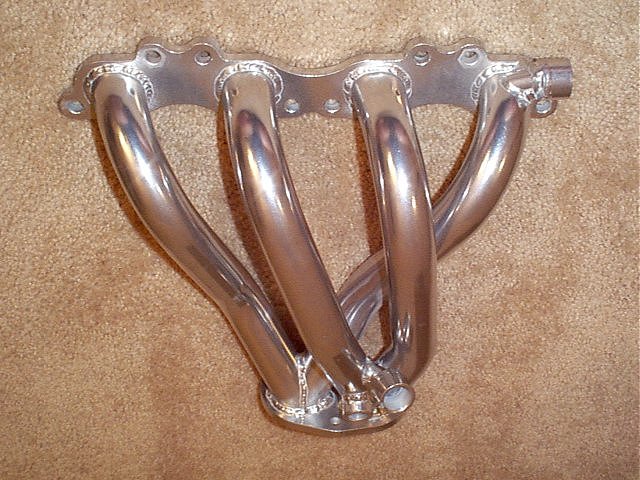 |
 |
 |
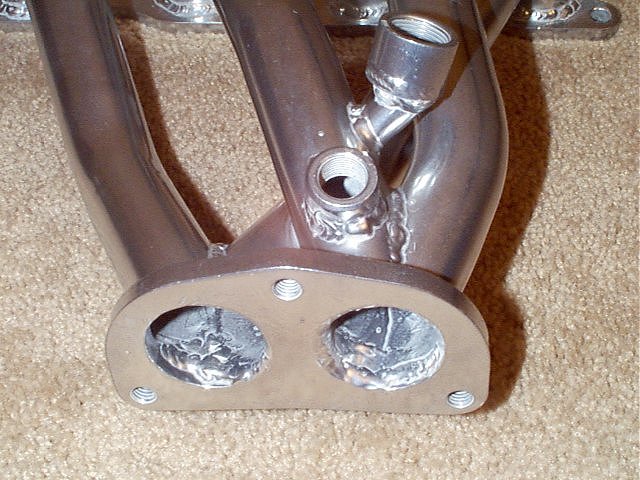 |
| Top view | Bottom view | Top flange | Bottom flange |
The primary ports are are finished smoothly, if not exactly port-matched. Any turbulence is probably negligible. The fitting for the O2 sensor is much lower than on the stock header, requiring the wiring harness to be lengthened about 6" before installation. Just above is the fitting for the AIV tube, applicable to 1991-93 model years. This fitting must be closed with a supplied plug for 1994+ model years.
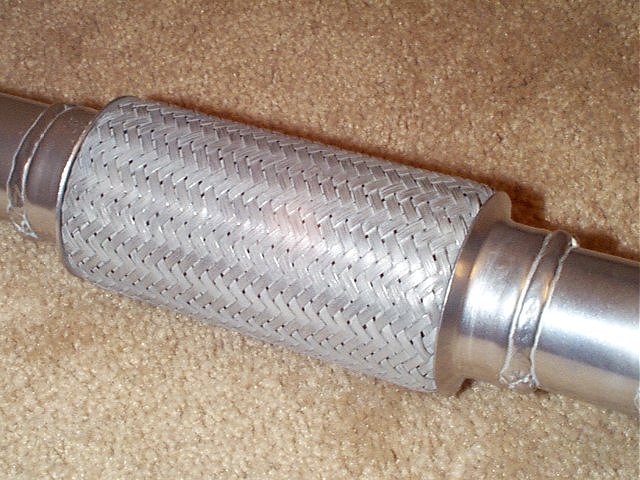
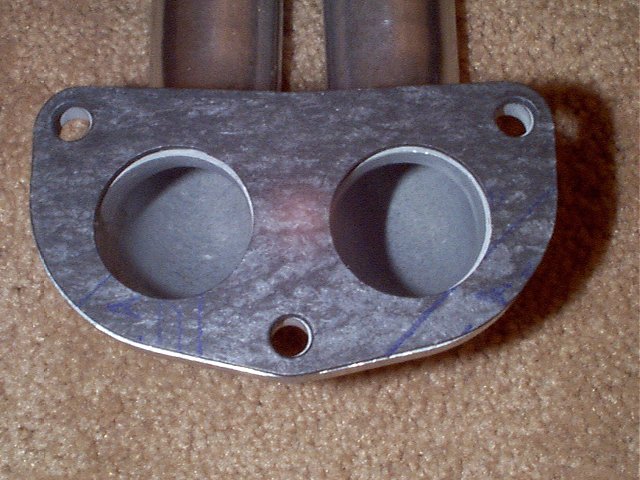
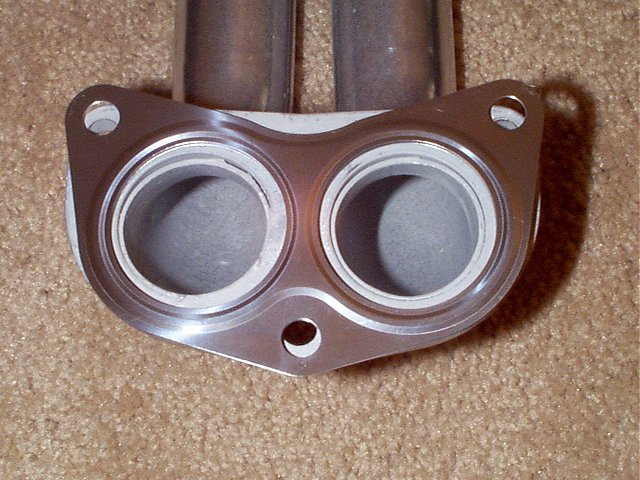
| The Secondaries | ||||
 |
 |
 |
 |
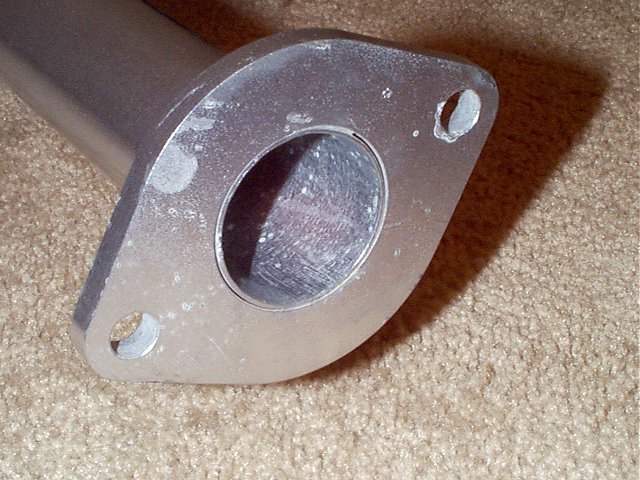 |
| Top view | Bottom view | Flexpipe | Front flange | Rear flange |
Welds on the secondaries are smooth, and the flexpipe is double-walled. The quality of the flexpipe seems good, but I question the Slinky-type noise it emits when accelerating. I later acquire a replacement secondary assembly from Stillen, but the new unit exhibits the same behavior.
| The Gaskets | |||
 |
 |
 |
|
| Gasket comparison | Stillen | Nissan | |
I had previously purchased a metal gasket designed for the 300ZX, but the composite gasket for the secondaries looked beefy enough for my use. To fit in this application, the 300ZX gasket must have its bolt holes enlarged with a grinder.
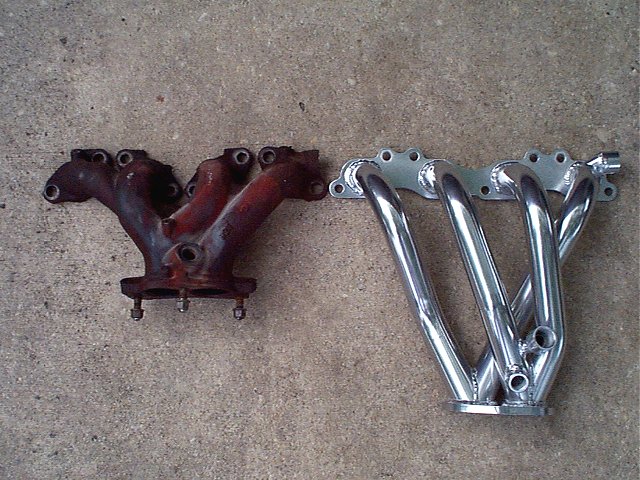
| The Difference | |
 |
 |
| Primaries | Secondaries |
The stock header is actually a good 4-2-1 design, but with
shorter unequal-length primaries and an ugly appearance. Hey - looks do
matter on occasion.
| The Installation Saga |
Here we begin...
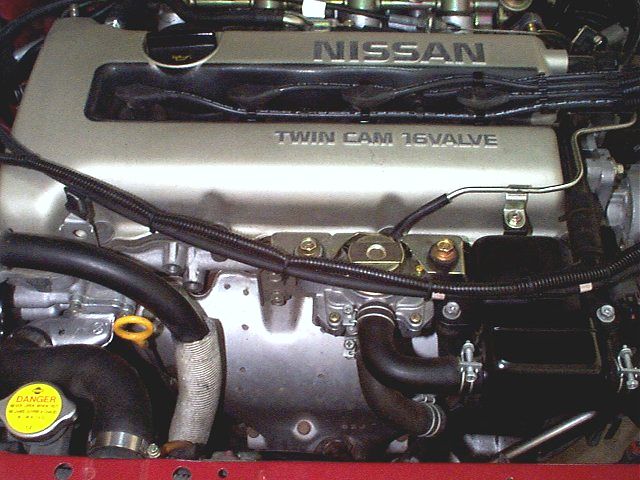
| One Last Look | |||
 |
 |
||
| Engine front | Stock secondaries |
O2 sensor | |
Take one last look. My car and my wallet will look a little different by the end of this job.
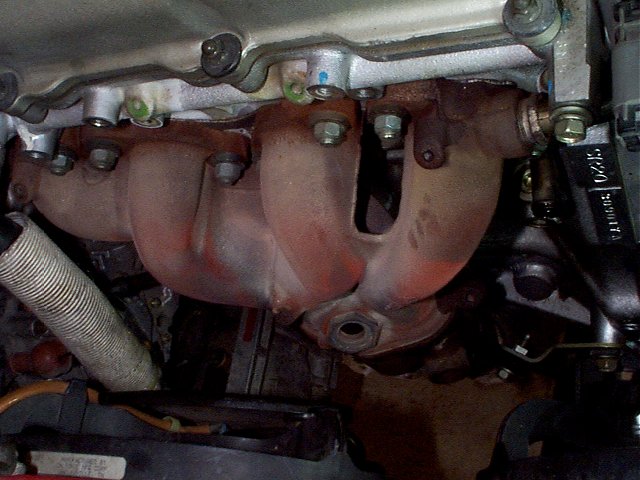
| Stock Header Removal | ||
 |
 |
 |
| Stock primaries |
Exhaust ports |
Front buffer and bracket |
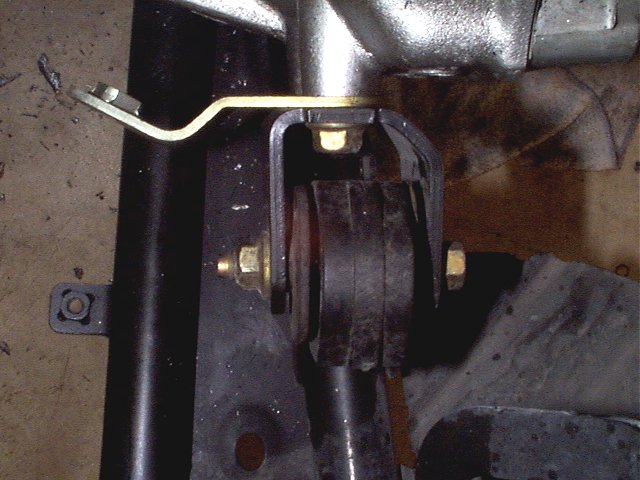
The bracket mounted behind the front buffer 'dogbone' connects to a flange on the stock secondaries, removing some stress from the manifold studs. The Stillen header does not have a matching flange, and might contact the bracket when the engine rocks, so the bracket can be easily removed by unbolting and reinstalling the front buffer. Some installers beat the @#$! out of the bracket, expending more effort than simply removing it.
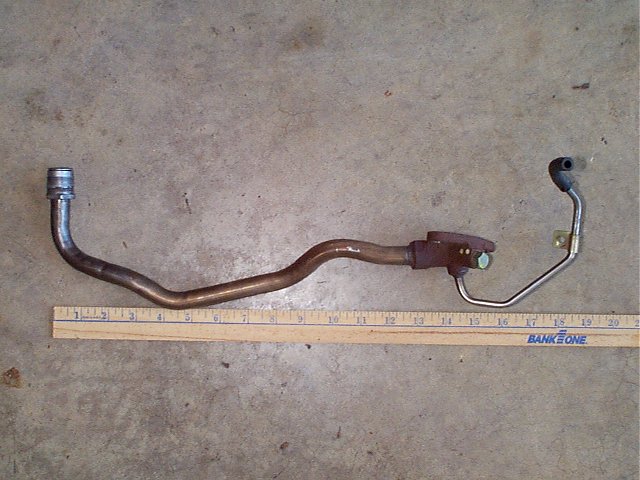
| Big Trouble | |
 |
 |
| EGR tube | Broken stud |
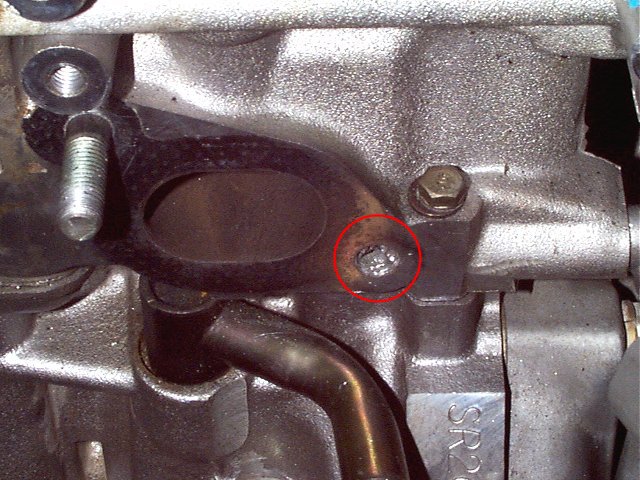
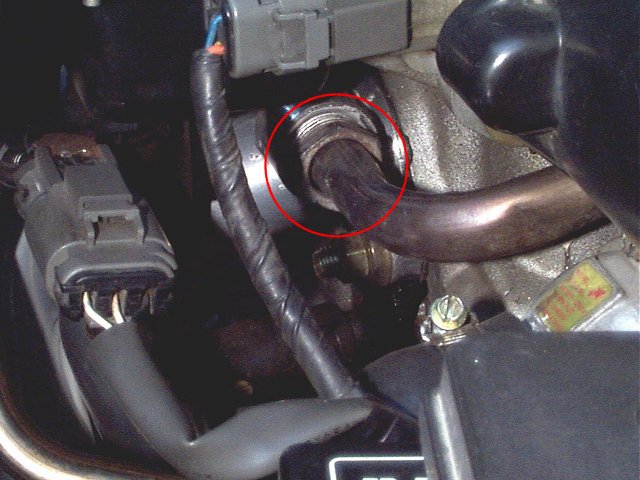
The EGR fitting on the Stillen header is about 1/8" too far forward, so the EGR tube had to be lengthened by this amount using whatever crude means of bending I had available. If this wasn't enough trouble, look at the broken stud on the #4 port. It broke inside the head under a nominal 30 ft-lb of torque, which was obviously too much for this previously-stressed part. To complicate matters, the extractor I used also broke, requiring a trip to the shop for a few hours of drilling, grinding, and torching, after which the tech inserted a HeliCoil. My advice? Install new studs during a header upgrade, regardless of mileage.
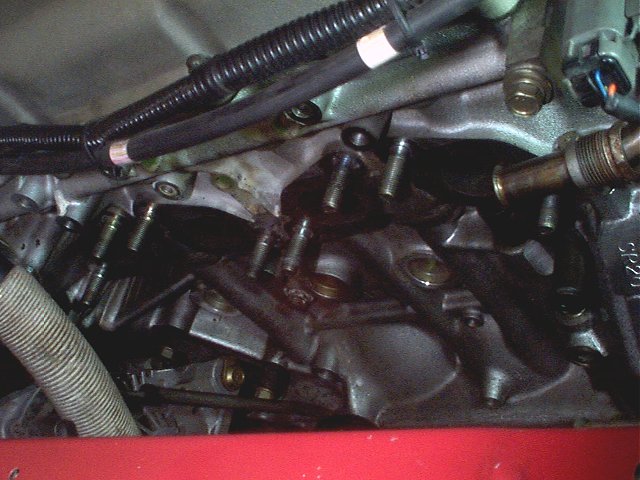
| Stillen Header Installation | ||
 |
 |
 |
| New dipstick location |
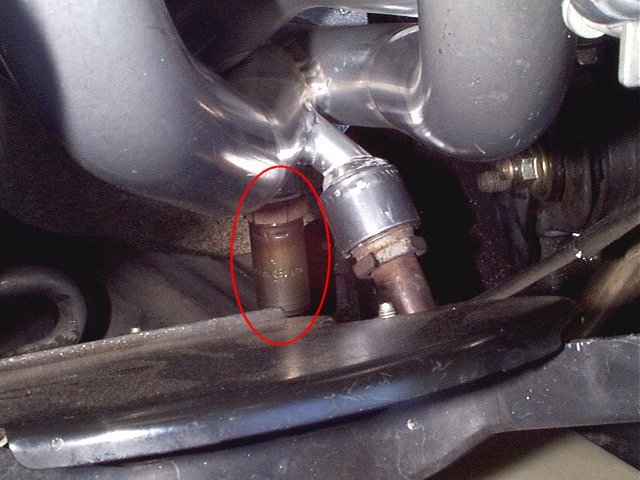
EGR fitting |
O2 sensor & AIV fitting |
The dipstick must be bent toward the front and passenger side to clear the #1 header tube, fitting it closely between the header and the alternator. Notice the much lower installation position of the O2 sensor as previously described.
| Before & After | ||
|
 |
 |
| Before | After | Complete |
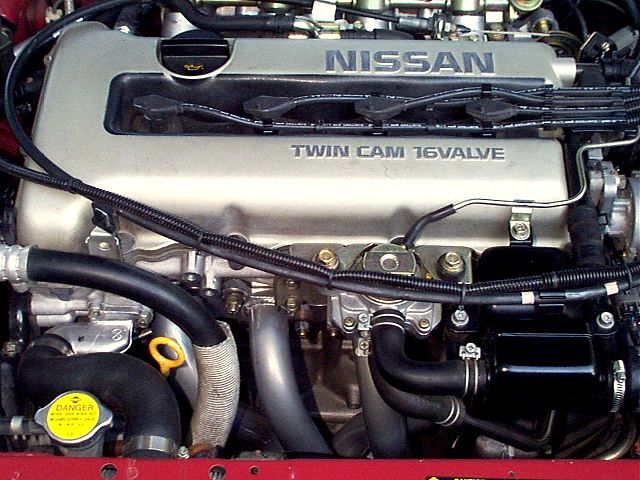
Isn't it clean? From these photos, you'd never know about the trauma that climaxed with this successful installation. Elated with the increased performance, I enhance the upgrade by installing my old POPCharger that's been laying in a box for many months. Unfortunately, high underhood temperatures are driven even higher by the worst heat wave to hit Texas in decades, causing a loss in performance as the POPCharger sucks in volumes of hot air. The POPCharger is later removed, then sold. The entire car is also sold within several months (as perviously explained).
Original material is the creation of Rick Zotz, 1999, 1998, 1997, and has been contributed to SE-R.net.